In large codebases, testing often becomes confusing or complicated. I have found myself writing tests that were brittle or hard to understand. Recently I have discovered inline expect tests (also known as snapshot tests), heavily inspired by the framework released by Jane Street1.
The "Why": The Problem with Assertions
Traditional unit tests often look like this:
def test_something():
    result = complex_calculation()
    assert result.value == 10
    assert result.status == "OK"
    # ... repeat for every field
As the object returned by complex_calculation grows, so does the test. It can become tedious to type out every field. This leads to "assertion fatigue," where tests only check superficial properties, letting subtle regressions2 slip through.
The "How": Enter ExpectTest
With expecttest3 (used extensively by PyTorch4), you write a test that acts like a REPL session. You run the code, and the tool fills in the assertions for you.
Getting Started
First, add the library using uv:
uv add expecttest
Then, import assert_expected_inline and write your first test with an empty string:
from expecttest import assert_expected_inline

def test_greeting():
    assert_expected_inline(greet("Alice"), "")
The Magic: ACCEPT=1
Run your tests with the environment variable EXPECTTEST_ACCEPT=1.
EXPECTTEST_ACCEPT=1 pytest
The tool rewrites your source code in place to include the actual output:
def test_greeting():
    assert_expected_inline(greet("Alice"), """Hello, Alice!""")
This transforms the testing workflow from "predict and verify" to "run and review."
How It Works
When you call assert_expected_inline, the library performs the following steps:
- Stack Inspection: It uses
inspect.stack()to locate the file and line number where the function was called. - Source Parsing: It reads the source file from disk.
- AST Analysis: It parses the source code (using Python's
astmodule or tokenization) to find the exact string literal argument passed toassert_expected_inline. - In-Place Rewrite: If
EXPECTTEST_ACCEPT=1is set, it replaces the string literal in the file with the new output and saves the file.
This "self-modifying code" approach might seem scary at first, but it is highly effective. It ensures that the test source is the source of truth, without relying on external snapshot files that can drift or become opaque data blobs.
Trade-offs: Expect Tests vs. Assertions
The pros and cons of this snapshot approach (often called "Golden Master" testing) compared to traditional assertions are outlined below.
Advantages
- Ease of Implementation: It is relatively easy to implement for complex legacy systems where understanding every implementation detail is difficult.
- Enables Refactoring: By locking in behavior, it provides a safety net that allows you to refactor verification logic without fear of regression.
- Handles Complex Data: It is the only sensible approach for complex results such as PDFs, XML, or images. Checking all relevant attributes of these objects with individual assertions would be unreadable and unmaintainable.
Disadvantages
- Non-Determinism: It depends heavily on repeatability. Volatile values (timestamps, random seeds, memory addresses) must be masked or removed from both the expected output and the result. If too many elements need masking, the test becomes noisy or useless.
- Environment Stability: It relies not only on the software being repeatable but also on the stability of the underlying environment and input values.
- Correctness vs. Change: Crucially, expect testing does not infer correctness. It merely detects changes. If the expected string was wrong to begin with, the test ensures it stays wrong until you manually verify and update it.
Comparison: Inline vs. External Snapshots
Some alternatives include pytest-snapshot or syrupy, which store snapshots in separate files (e.g., __snapshots__/test_file.ambr).
| Feature | Standard Assertions | Inline Snapshots (expecttest) | External Snapshots (syrupy) |
|---|---|---|---|
| Readability | Good for simple values, poor for large objects. | High. Expected value is right there. | Low. Value is hidden in another file. |
| Maintenance | High. Must manually type updates. | Low. Auto-update with env var. | Low. Auto-update with CLI flag. |
| Reviewability | Explicit logic, but can be verbose. | Excellent. Diffs are clear and local. | Hard. Diffs are in effective binary blobs. |
| Workflow | "Predict and Verify" (tedious). | "Run and Review" (fluid). | "Record and Forget" (passive). |
I currently prefer inline tests because they support literate testing.
You can read the test method from top to bottom and understand exactly what the system does without context switching. This mirrors the evolution of testing in other ecosystems: identifying the trade-offs between the external snapshots popularized by Jest5 and the inline developer experience prioritised by tools like Rust's insta6.
Usage Patterns
expecttest is flexible and works with both unittest-style classes and standard pytest functions.
Class-Based Testing (unittest)
If you prefer class-based tests, inherit from expecttest.TestCase. This provides the assertExpectedInline method.
import unittest
from expecttest import TestCase

class TestBasic(TestCase):
    def test_simple_string(self):
        """
        Demonstrates the classic TestCase integration.
        The empty string in assertExpectedInline will be populated when running
        with EXPECTTEST_ACCEPT=1.
        """
        result = "Hello " + "World!"
        self.assertExpectedInline(result, """""")

    def test_multiline_string(self):
        """
        Demonstrates multiline string support.
        """
        result = "\n".join(["Line 1", "Line 2", "Line 3"])
        self.assertExpectedInline(result, """""")
Functional Testing (pytest)
For a more modern, functional style (typical with pytest), use the standalone assert_expected_inline function.
from expecttest import assert_expected_inline

def test_functional_assertion():
    """
    Demonstrates usage with pytest using the standalone function.
    """
    result = {"a": 1, "b": 2}
    # expecttest works with strings, so we typically format the output first
    assert_expected_inline(str(result), """""")
Real World Example: Stack Calculator
Let's look at a more complex example: a Stack Calculator. This is a classic state machine where you push numbers onto a "Last-In-First-Out" (LIFO) stack and perform operations like adding the top two numbers.
Why is this a good candidate?
Stateful systems are notoriously hard to test with standard assertions because you need to query the internal state after every operation to be sure it's correct. With expecttest, we can simply print the state of the stack and assert on its string representation.
from dataclasses import dataclass, field
from typing import List
from expecttest import Expect

@dataclass
class StackCalculator:
    stack: List[float] = field(default_factory=list)
    history: List[str] = field(default_factory=list)

    def push(self, value: float):
        self.stack.append(value)
        self.history.append(f"PUSH {value}")

    def add(self):
        if len(self.stack) < 2:
            raise ValueError("Not enough operands")
        b = self.stack.pop()
        a = self.stack.pop()
        res = a + b
        self.stack.append(res)
        self.history.append("ADD")

    def multiply(self):
        if len(self.stack) < 2:
            raise ValueError("Not enough operands")
        b = self.stack.pop()
        a = self.stack.pop()
        res = a * b
        self.stack.append(res)
        self.history.append("MUL")

    def __repr__(self):
        return f"Stack: {self.stack}\nHistory: {', '.join(self.history)}"

def test_calculator_state_transitions():
    """
    Demonstrates verifying complex state transitions in a math state machine.
    We verify the state after a sequence of operations.
    """
    calc = StackCalculator()

    # Initial state
    Expect("""
    """).assert_expected(str(calc))

    calc.push(5)
    calc.push(3)

    # State after pushes
    Expect("""
    """).assert_expected(str(calc))

    calc.add()

    # State after add
    Expect("""
    """).assert_expected(str(calc))

    calc.push(2)
    calc.multiply()

    # Final state
    Expect("""
    """).assert_expected(str(calc))
If we change the implementation of add() to be incorrect (e.g., it multiplies instead), running the test gives us a diff:
- Stack: [8]
+ Stack: [15]
This effectively implements Golden Master Testing (also known as Characterization Testing7). You simply "take a picture" of the state and use that as the source of truth, rather than writing dozens of individual assertions.
It essentially treats the current behavior of the code as the specification. This is a technique famously coined by Michael Feathers7 for dealing with legacy code, but expecttest allows us to apply it proactively to new code.
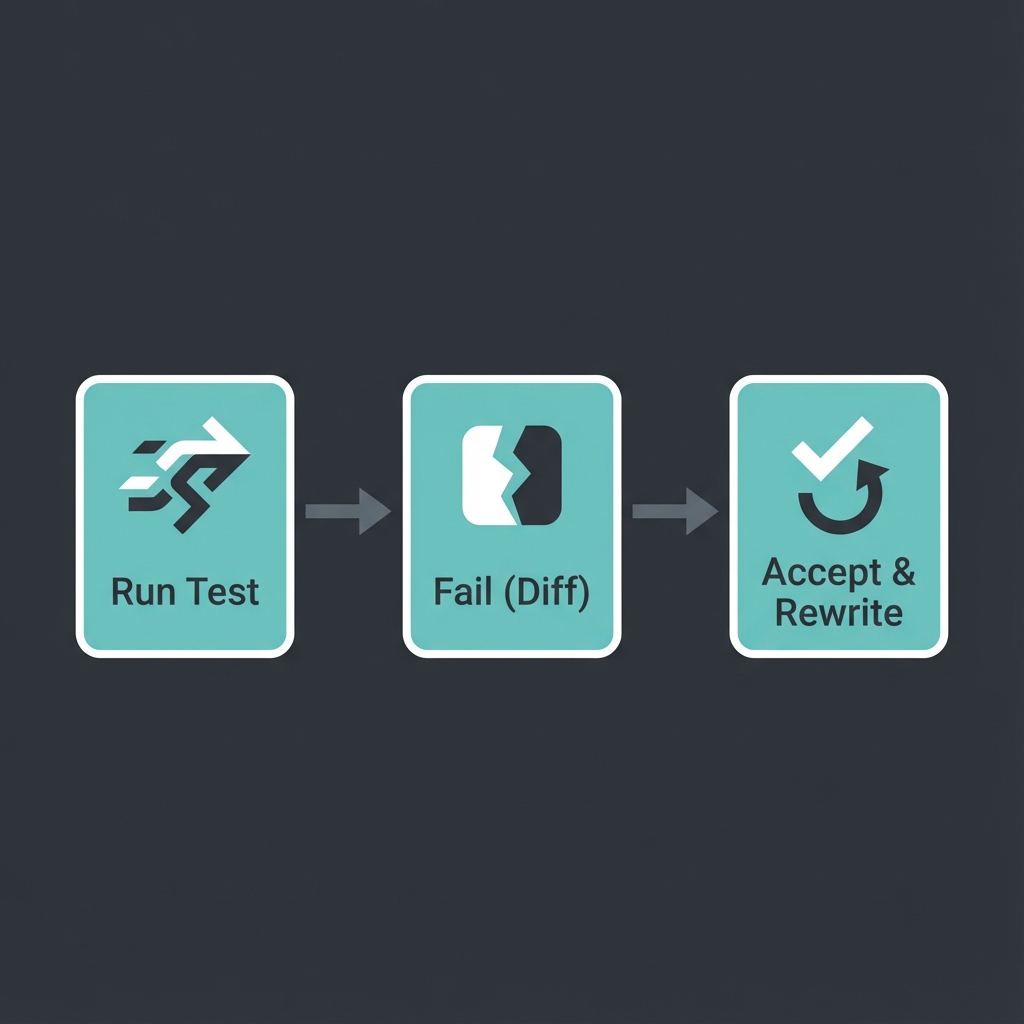
The Workflow Visualized
Best Practices
- Review the Diffs: The diff is the test. Review it carefully during code review. Don't just blindly accept changes.
- Deterministic Output: Ensure your objects iterate in a deterministic order (e.g., sort dictionary keys) so snapshots stay stable.
expecttestdoesn't automatically sort for you; you must serialize to a stable string. - Sanitize Dynamic Data: If your output contains timestamps or memory addresses (e.g.,
<Object at 0x1024>), replace them with placeholders (e.g.,<TIMESTAMP>) before asserting. - Editor Integration: Since the file changes on disk, your editor needs to reload it. VS Code and PyCharm usually handle this well, but be aware of "file modified" warnings.
Interactive Challenge
Can you predict what the expect test will output for this code?
def test_reference_mutation():
    a = [1, 2]
    b = a
    a.append(3)
    # Hint: b is a reference to a, not a copy
    assert_expected_inline(str([a, b]), "")
Click to reveal the expected output
"""[[1, 2, 3], [1, 2, 3]]"""
Since b is assigned to a, it references the same list object. Modifying a also "changes" b. expecttest captures the final state of the entire structure.
Footnotes
-
The Original Inspiration: misuse of the term "Expect Test" comes from OCaml. Jane Street's ppx_expect introduced the "run and rewrite" workflow. ↩
-
Software Regression: A type of software bug where a feature that previously worked correctly stops functioning, typically after new changes are applied (see Wikipedia). ↩
-
ExpectTest Library: pytorch/expecttest - The Python library used in this article. It is maintained by the PyTorch team and used in their CI. ↩
-
PyTorch Usage: PyTorch uses this extensively for testing their compiler stack (TorchInductor). You can see the
expecttestintegration in torch/testing/_internal/common_utils.py and its usage throughout thetest/inductordirectory. ↩ -
Jest Snapshots: Facebook's Jest popularized "Snapshot Testing" in the JavaScript ecosystem (2016), though usually with external
.snapfiles rather than inline. ↩ -
Rust's Insta: insta is arguably the state-of-the-art for this pattern today, supporting both inline and external snapshots with a powerful CLI. ↩
-
Characterization Testing: A concept introduced by Michael Feathers in Working Effectively with Legacy Code. It involves capturing the behavior of a system to use as a baseline for future changes (see Wikipedia). ↩ ↩2